
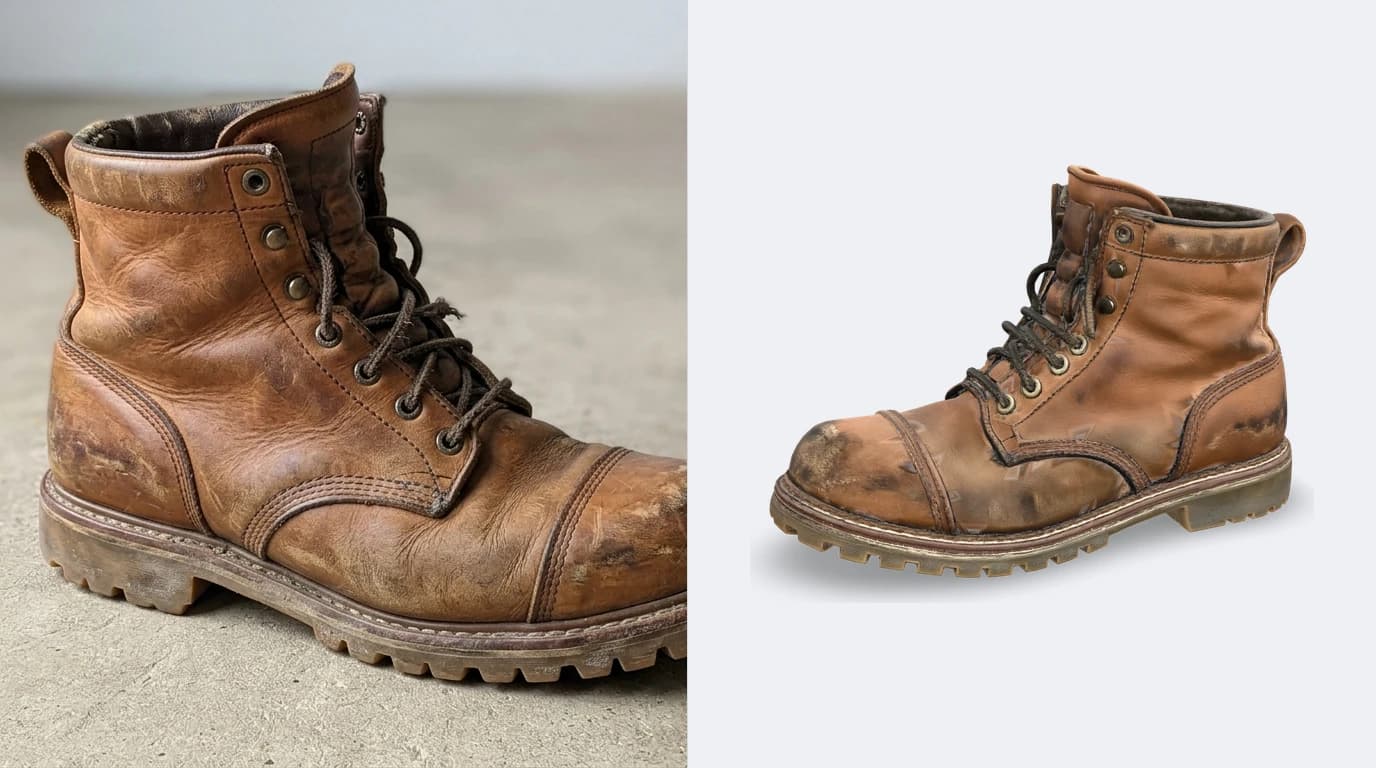
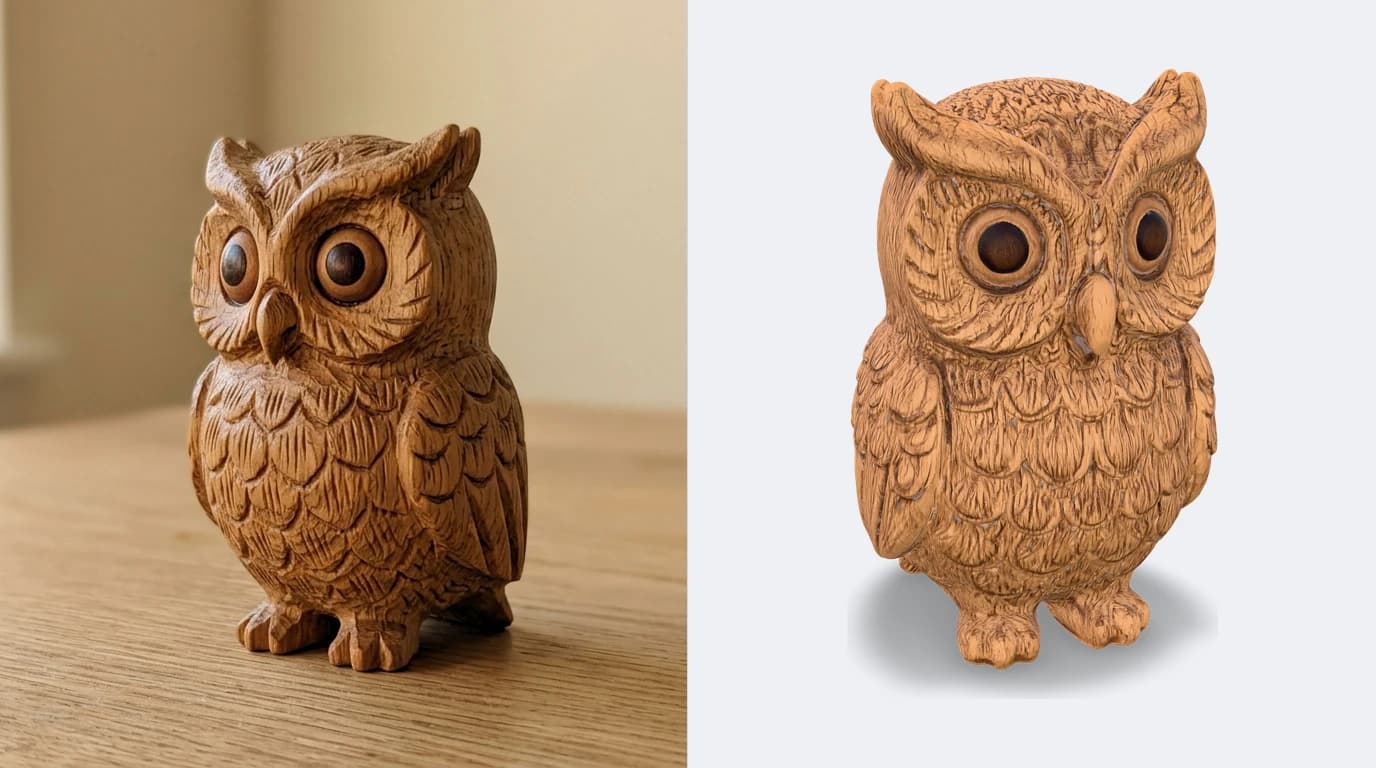
Typing “image to 3D model” usually means one of two things. Either you have a photo of a real object and you want a model you can spin, print or drop into a scene, or you have a flat logo and you want to give it depth. This guide is about the first and harder case: a single picture in, a full three-dimensional model out. The part that surprises people is what you actually get. Not a CAD file with editable dimensions, but a mesh, a skin of triangles the AI reconstructs by guessing the sides your camera never saw. Know that going in and image to 3D is genuinely magic. Expect a CAD solid and you will be let down.
Our articles are still written by humans!
Get human written articles in your Google feed.
The short answer
Yes, AI can turn a single image into a 3D model, in about a minute, and the result is a mesh you can view, print and export. You upload a photo, the model reconstructs the full shape including the parts the camera could not see, and you download it as GLB, OBJ, STL or FBX. What it is not is a parametric CAD file. There is no editable list of features, no guaranteed 25.0 mm that you can nudge to 25.4, just a finished surface. For visuals, games, product mock-ups and 3D printing that surface is exactly what you want. For machining to tolerance you want a drawing, and we will draw that line clearly further down.
Mesh, solid or drawing: what you actually get
Before you pick a tool, it pays to know which of three very different things you are actually asking for, because “3D model” hides a lot. Get this wrong and you burn an afternoon exporting the perfect file for the wrong job.
Three outputs people all call a 3D model
Image-to-3D AI lives firmly in the first row. It hands you a mesh: a watertight shell of triangles that looks solid on screen and slices for printing, but knows nothing about the intent behind the shape. It cannot tell you the hole is 8 mm because to the mesh there is no hole, only a ring of triangles. That is not a flaw, it is the whole point of a mesh, and it is why the same file that 3D prints beautifully is the wrong starting point for a machinist. When exact sizes matter, the honest route is a dimensioned drawing, which is what image to CAD, turning a picture into a drawing you can manufacture is all about.
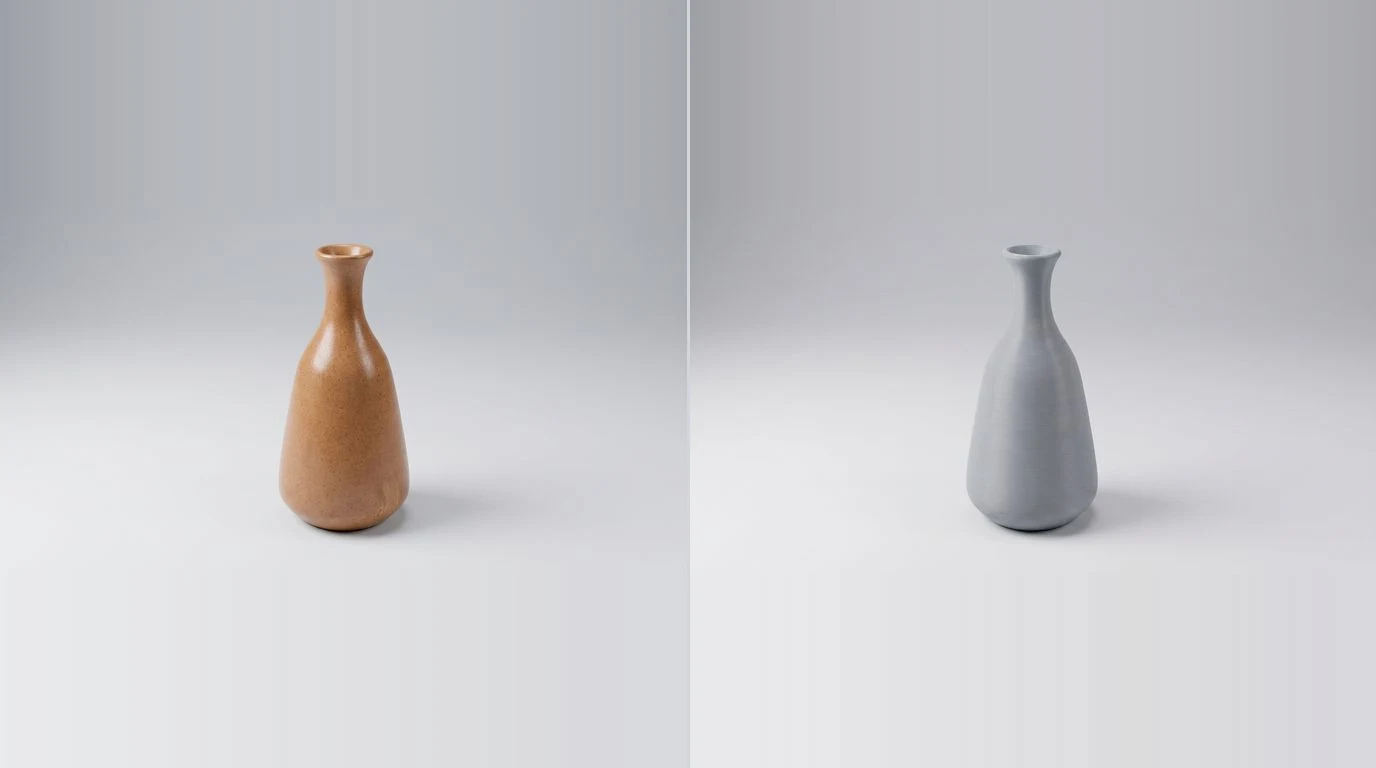
Image to 3D in four steps
The workflow is short and forgiving, which is a big part of why it feels like magic. Here is what happens between your photo and a model you can spin.
- Upload one clear photo. A single, well-lit shot of the whole object is enough. The subject filling the frame with a plain background gives the AI the cleanest read.
- The AI reconstructs the full shape. It infers depth and the unseen sides from millions of objects it has learned, then builds a complete mesh, not just the face you photographed.
- It bakes the colour on. The texture from your photo is projected onto the surface, so the model arrives looking like the real thing rather than grey clay.
- You export for the destination. GLB to embed on a page, STL to print, OBJ or FBX to keep working in Blender or a game engine.
No point cloud to clean, no dozens of overlapping photos to align the way classic photogrammetry demands. That single-photo shortcut is the leap: the model is inventing the parts it cannot see, trading survey-grade accuracy for speed and the convenience of one picture.
Why one photo has a hidden back
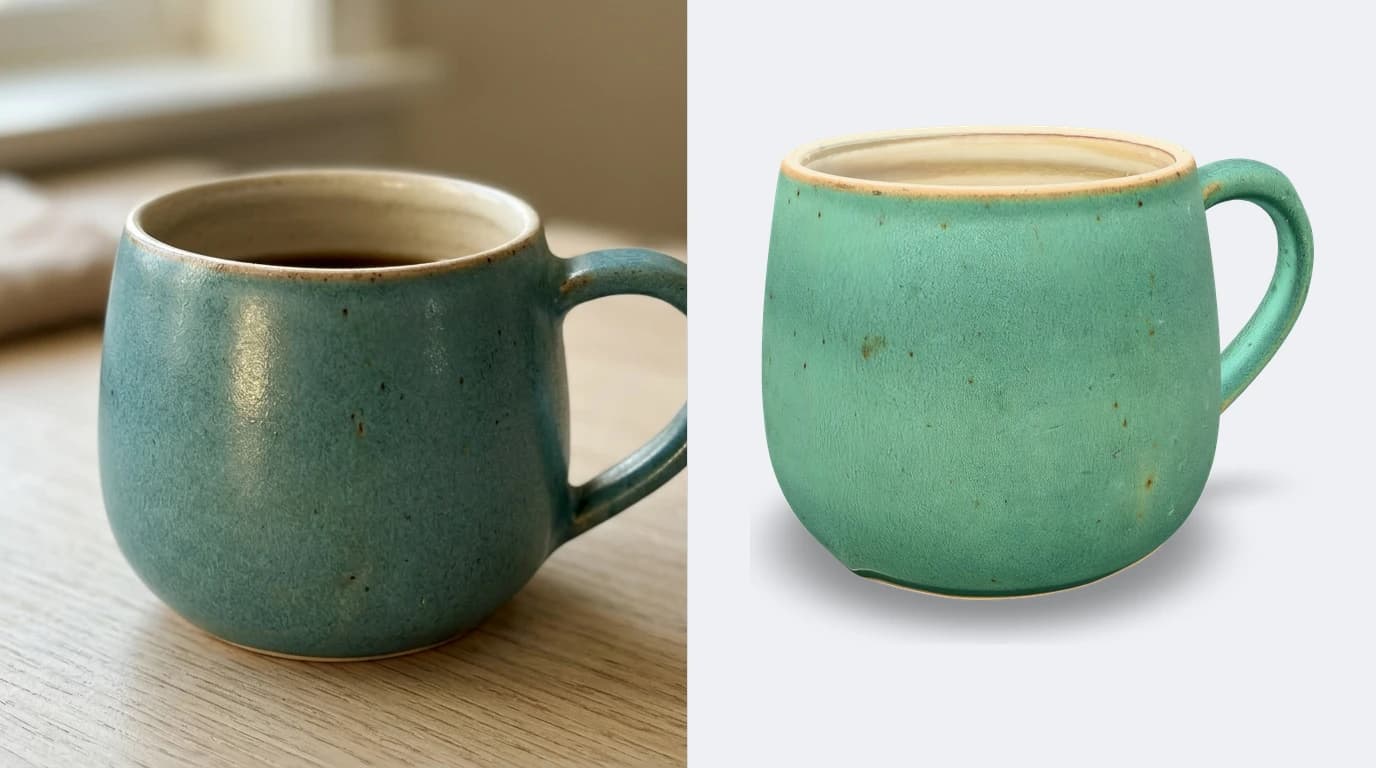
A camera records one side of the world. Everything facing away, the back, the underside, the inside of a handle, simply is not in the file. So when a tool builds a full 3D model from a single image, it is making an educated guess about all of that, and it helps to know where the guess is strong and where it is not.
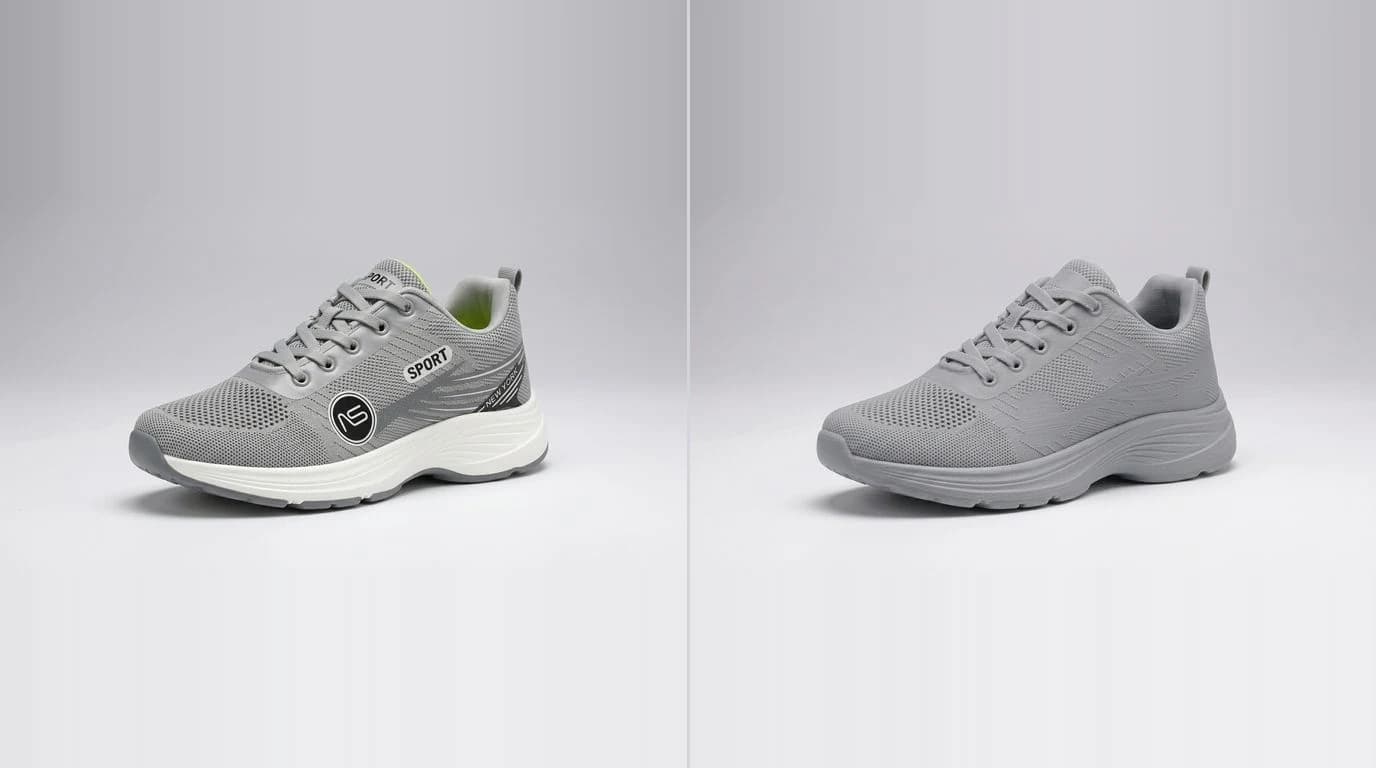
- Symmetrical, familiar objects reconstruct best. A mug, a shoe, a chair, a toy: the AI has seen thousands, so the hidden half it invents is usually close to right.
- Unusual or hidden features are where it drifts. A one-off bracket with a pocket you cannot see, or fine text on the far face, is guessed rather than known.
- More angles pin it down. Tools that accept a few photos from different sides replace guesswork with evidence and tighten the shape considerably.
GLB, OBJ, STL or FBX: which export
Once the mesh exists, exporting is the easy part, as long as you match the format to where the model is going. Pick wrong and you will fight your software for no reason.
The four mesh formats you will actually meet
In practice the rule is simple. STL is for the printer and nothing else needs to travel with it, because a slicer only cares about the shape. GLB is for the web, one tidy file with the colour baked in, which is exactly why the model viewer on this site loads GLB. Reach for OBJ or FBX only when the model is heading into Blender, Unreal or a game engine to keep being worked on.
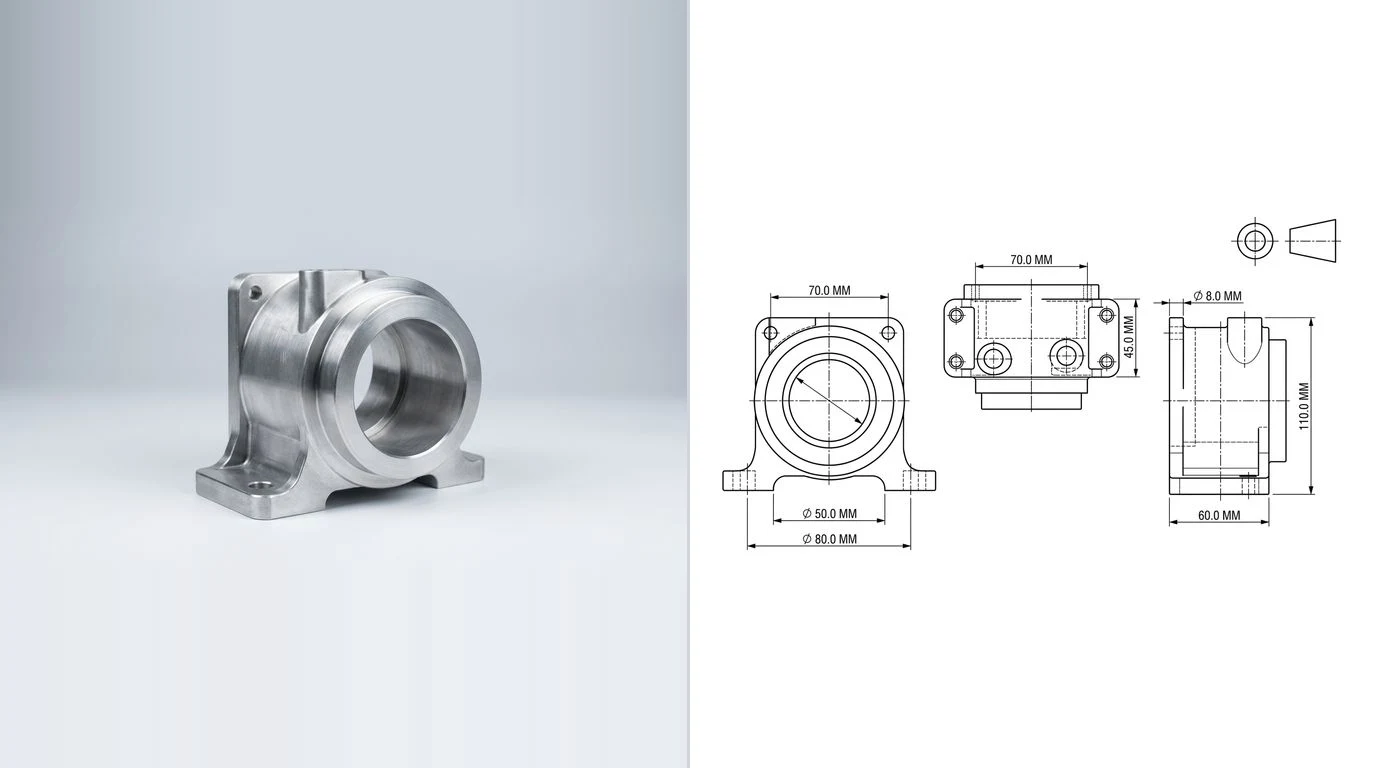
Image to 3D model vs image to CAD
This is the fork that decides everything, and it is worth being blunt about, because the two phrases sound identical and lead to opposite files. Ask what you are going to do with the result, then pick.
Want to see, share, render or 3D print the object? You want image to 3D: a mesh, textured, watertight, ready to spin or slice. Want to measure, edit or manufacture to a spec? A mesh will fight you, because it has no real dimensions to trust. There the right output is a dimensioned 2D drawing or a CAD solid, where every length is a number you set from one known measurement. That is a genuinely different pipeline, and it is the one behind photo to CAD, converting a picture to DWG or DXF and the reverse-engineering case in how to reverse-engineer a part from a photo.
The two are not rivals, they are neighbours. A designer might reconstruct a found object as a mesh to drop into a concept render, while an engineer photographs the same object to rebuild a manufacturable drawing. Same photo, different destination. If your job is the second kind, start with the image to CAD guide instead of a mesh tool.
How to shoot a photo that reconstructs
The model is only ever as good as the picture you feed it, and the fixes are the same ones that help every image-based tool. Two minutes here saves a rerun.
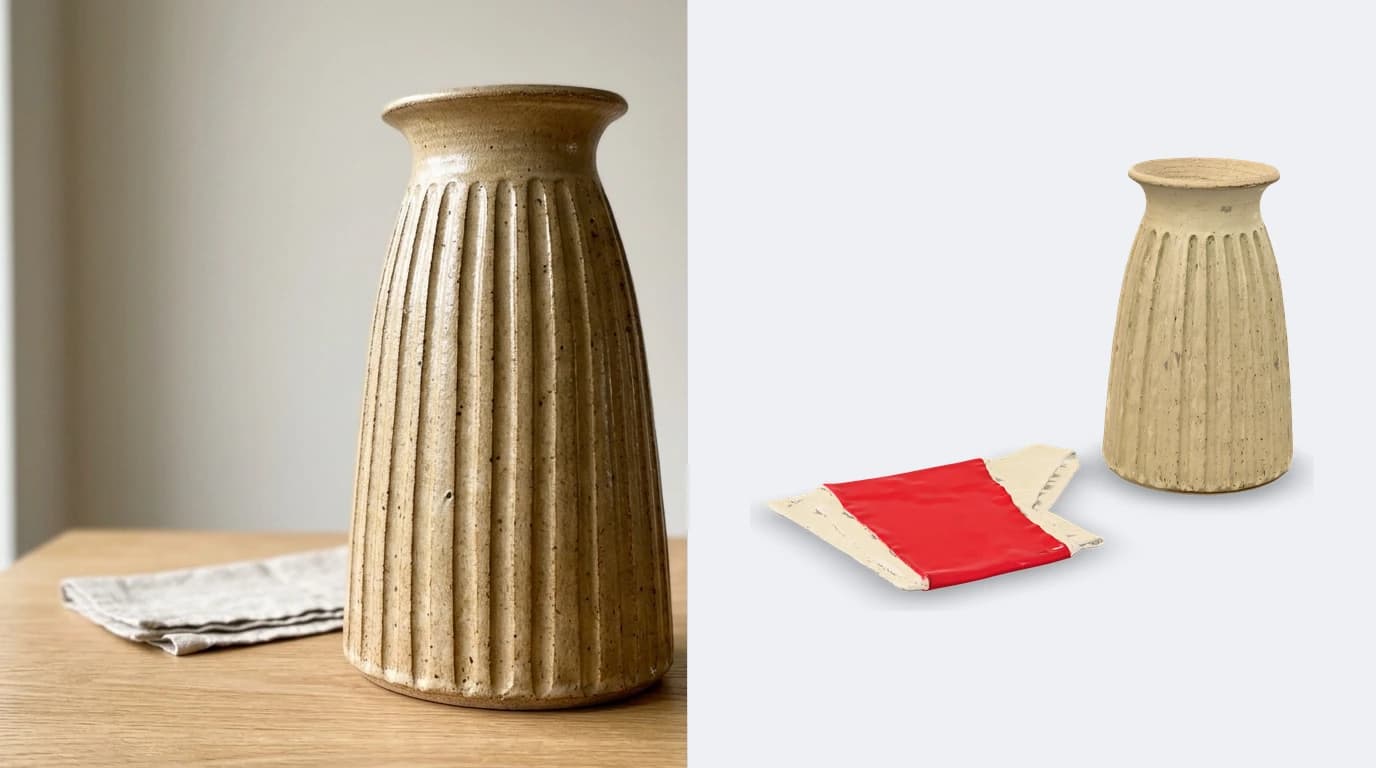
- Fill the frame with the object. More pixels on the subject means more detail for the AI to reconstruct, and less background to mistake for the object.
- Use a plain, contrasting background. A clean backdrop helps the tool cut the object out cleanly and stops the floor bleeding into the mesh.
- Light it soft and even. Flat, diffuse light avoids hard shadows and blown-out highlights that confuse where the surface really is.
- Shoot the most descriptive angle, usually a three-quarter view that shows the front and one side at once, so the AI has to invent as little as possible.
- Give it a few angles when you can. If the tool accepts more than one photo, a front, side and back turn guesswork into fact.
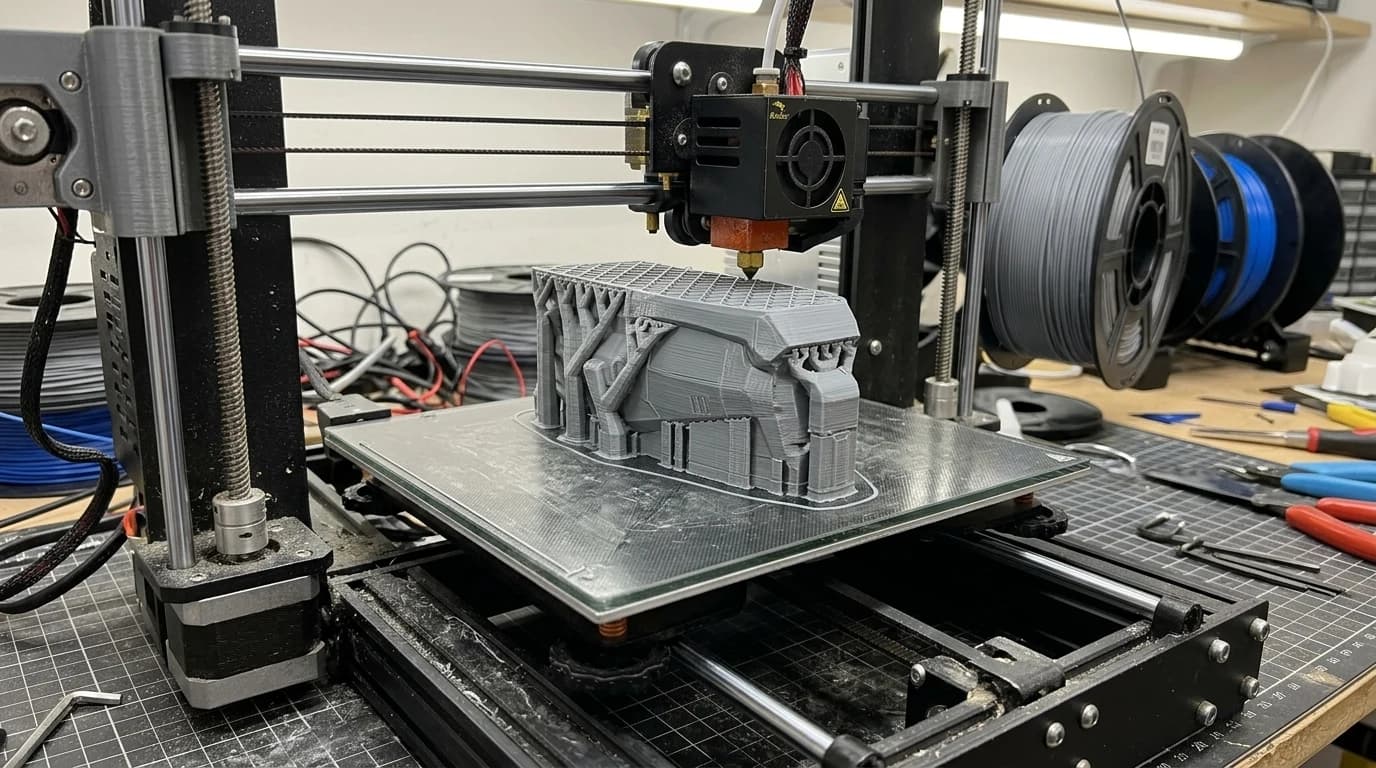
Image to 3D tools compared
The space moved fast and most tools now do a competent single-photo reconstruction. Here is the honest split by what you are trying to make.
Image to 3D, by tool and by what it is really for
Most single-purpose tools stop at the mesh, which is fine when a mesh is all you need. What tends to matter more is what happens next. TechDraw AI sits across the fork on purpose: its Photo to 3D feature reconstructs a real textured model from one photo, viewable in the browser and downloadable as STL, OBJ, GLB or FBX, and when your goal is measurement rather than a mesh, the same photo can instead be turned into a dimensioned DXF or DWG drawing. One upload, either destination, without pretending a mesh is a CAD file or the other way round. You can try the reconstruction from the create page, and if the manufacturing route is what you are really after, from a photo to a manufacturing drawing takes it the last mile.
Frequently asked questions
Can AI turn an image into a 3D model?
Yes. Modern image-to-3D AI takes a single photo and reconstructs a full three-dimensional mesh, guessing the hidden sides from what it has learned about similar objects. You upload one picture and get back a shaded model you can spin, export and 3D print in a minute or two. The catch is that it builds a surface mesh, a skin of triangles, not a parametric CAD solid with an editable feature history, so it is superb for visuals, printing and reference and weaker when you need exact engineering dimensions.
How do I convert a 2D image to a 3D model?
Pick the route that matches your goal. For a photo of a real object, an AI image-to-3D tool rebuilds a textured mesh you export as GLB, OBJ or STL. For a flat logo or icon you extrude or bevel it in software like Blender to give the outline depth. For a part you plan to machine, you do not want a mesh at all, you want a dimensioned drawing or a CAD solid, which is a different job covered by image-to-CAD workflows. One picture, three very different outputs.
Is there a free image to 3D model converter?
Yes, several AI tools have a free tier that turns an image into a downloadable 3D model, usually with a lower polygon count, watermarked textures or a cap on how many you can make per month. Free is genuinely fine for a quick visual or a rough print. When you need clean topology, higher detail or commercial rights, the paid tiers earn their keep. Either way, expect a mesh, because no free tool turns a photo into a parametric CAD solid.
Can you 3D print a model made from a photo?
Usually yes. Export the reconstruction as STL, the standard 3D-printing format, and most models drop straight into a slicer. Check two things first: that the mesh is watertight, meaning no holes in the surface, and that the wall thickness is printable at your chosen size. AI reconstructions from a single photo are watertight far more often than a hand-traced mesh, which is exactly why they slice cleanly, but a quick repair pass in your slicer never hurts.
What is the difference between a mesh and a CAD model?
A mesh describes only the outer surface as thousands of tiny triangles, so it is perfect for rendering, printing and games but carries no notion of a hole, a fillet or an exact 25 mm width you can edit. A CAD model stores the design intent: sketches, features and precise dimensions you can change and rebuild. Image-to-3D AI gives you a mesh. If you need to edit the geometry parametrically or manufacture to tolerance, you convert to CAD or rebuild it as a dimensioned drawing instead.