 Blender
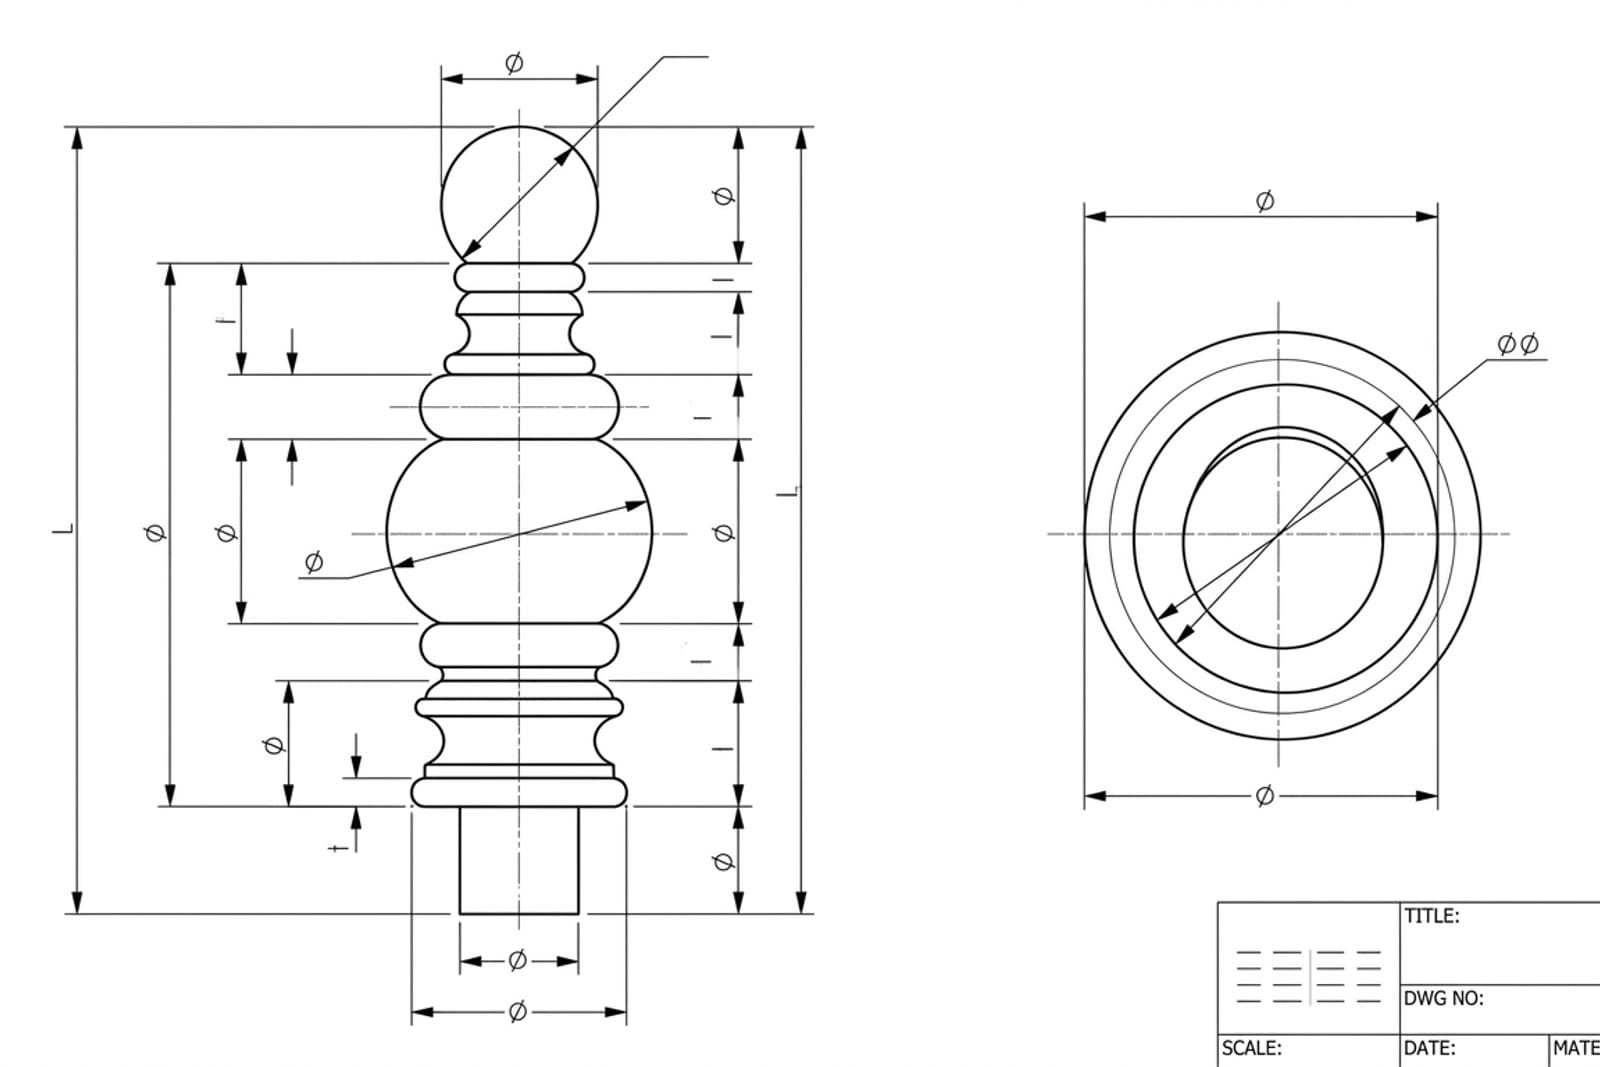
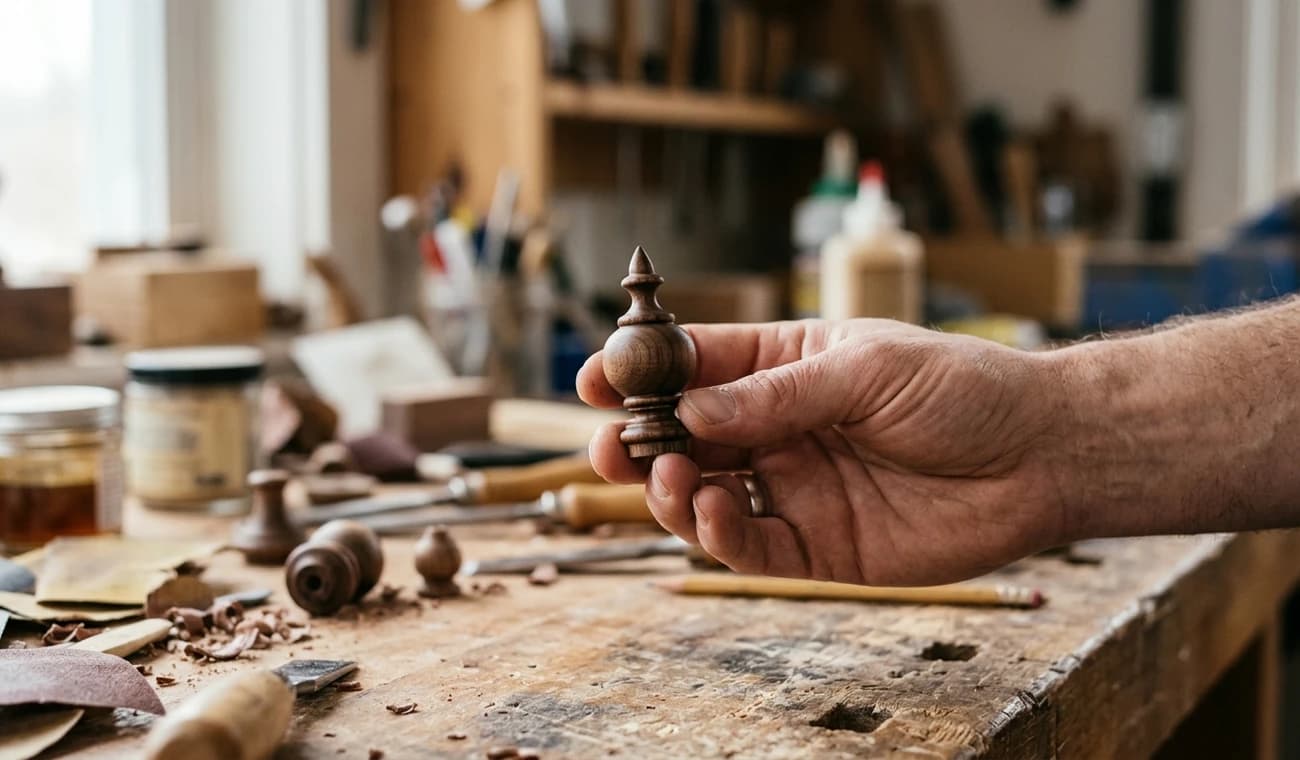

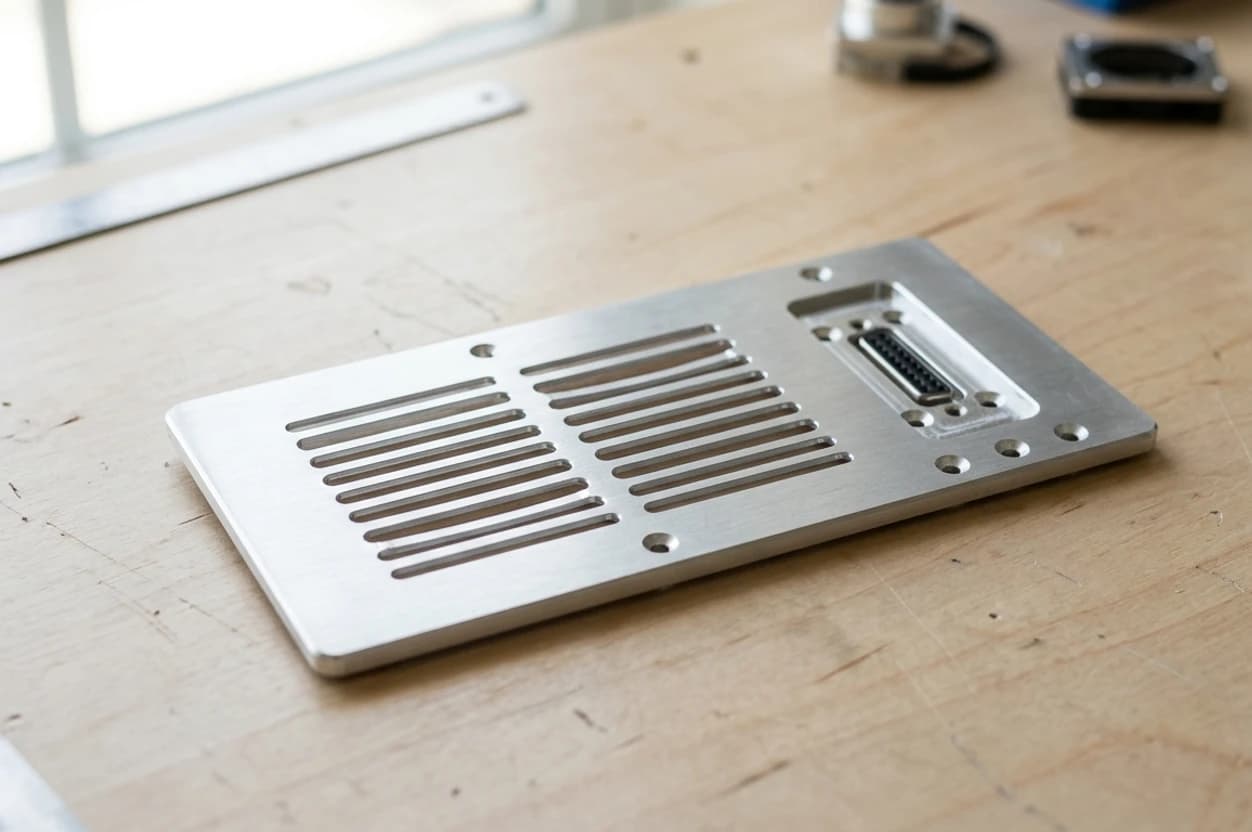
Photograph the part, get the DXF or SVG, bring it into Blender as a curve, convert to mesh, Solidify, and export STL — a printable model with no licence to buy.
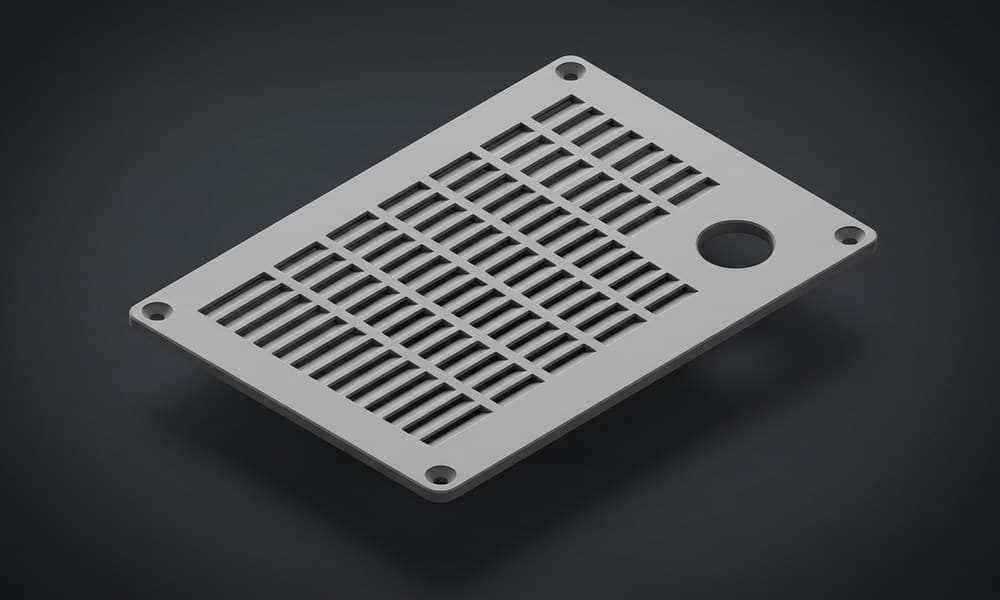
Blender isn't only a modeller. Light the part, give it a material, and render a clean presentation image — the same file that becomes your print also becomes your hero shot.
Nothing to buy at any step you control here: TechDraw AI gets you the vector, Blender turns it into a mesh, renders and exports. The whole photo-to-print chain runs on free tools.
For laser or CNC work the DXF often goes straight to the machine; Blender just confirms the geometry and gives it depth where a 3D part is needed.
Who does what
Division of labour, not redundancy. Each tool owns the half of the job it's actually good at.
| Step in the job | TechDraw AI | Blender |
|---|---|---|
| Capture from a photo | ✓ | ✗ |
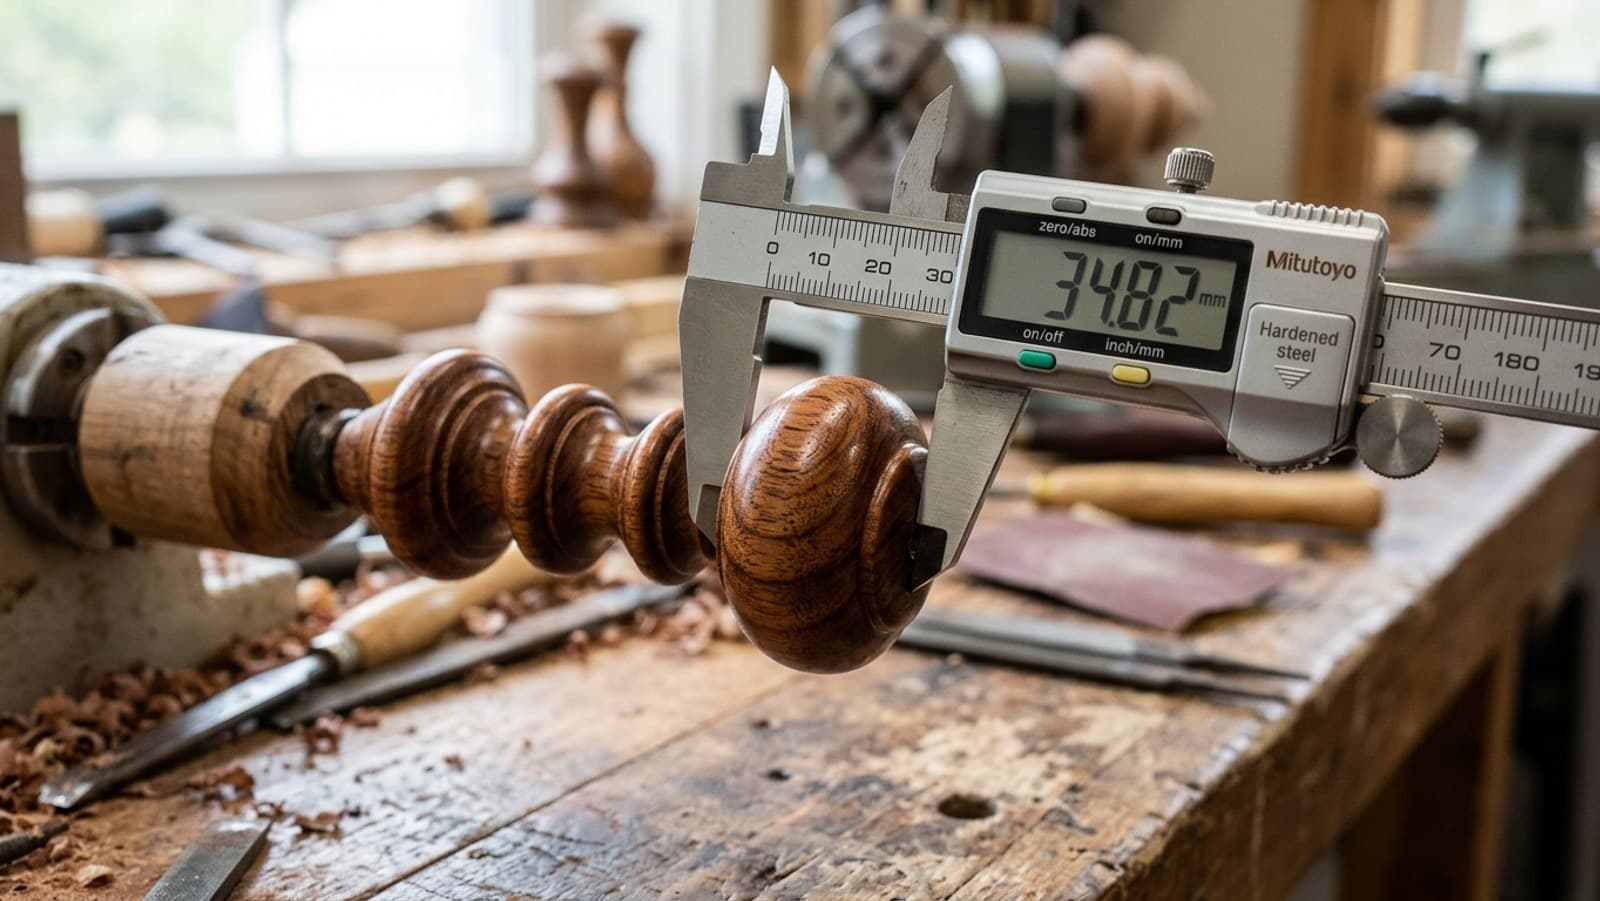
| Real measured dimensions | ✓ | ~ |
| DXF / SVG import | ✓ | ✓ |
| Curve → mesh + Solidify | ✗ | ✓ |
| Screw modifier (lathe) | ✗ | ✓ |
| Render & present the part | ✗ | ✓ |
| Free & open-source | ~ | ✓ |
| Best at | Photo → drawing | Drawing → mesh, free |
See it for yourself
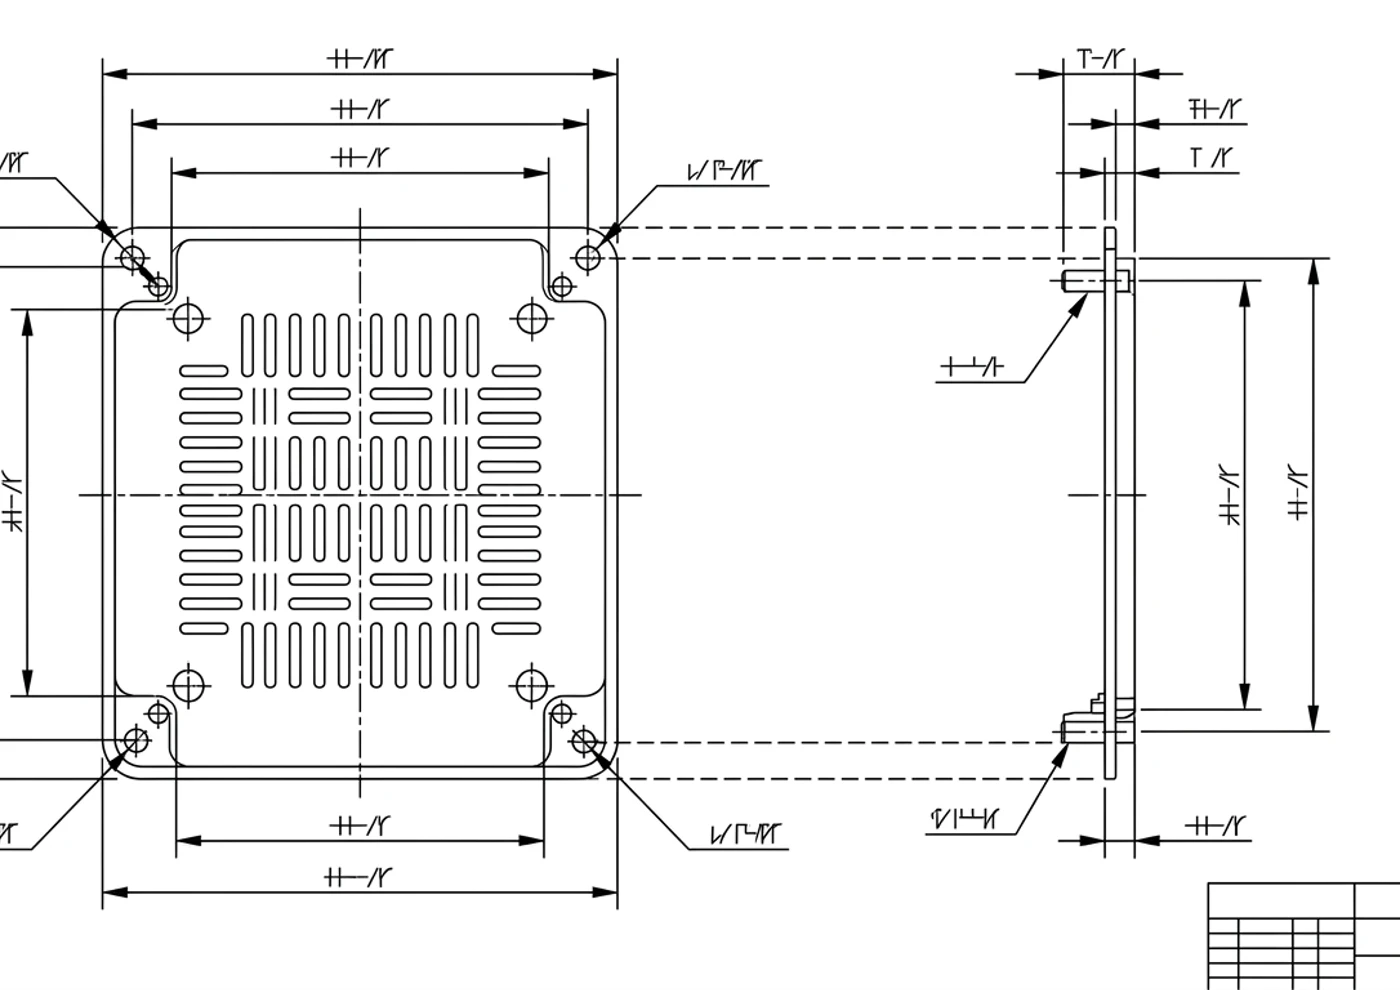
Drop in a photo of a part. You'll get a dimensioned drawing and a clean DXF or SVG, ready to import into Blender. No account needed to start.
The five-step handoff
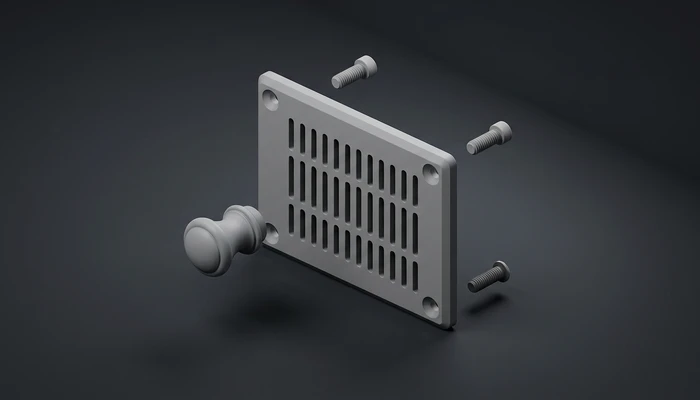
Once you've exported the drawing from TechDraw AI as a DXF or SVG, the import into Blender is short. If your part is flat, like a panel, gasket or laser plate, the DXF is the cut file and you can stop after the import.
The seam is a vector. Mind your import scale, the curve-to-mesh step and closed profilesand it's a seam you barely notice. Geometry in, a free 3D mesh out.
Solidify vs. Screw modifier
The vector is always a flat 2D profile. Once it's a mesh, how you give it depth depends on the part.

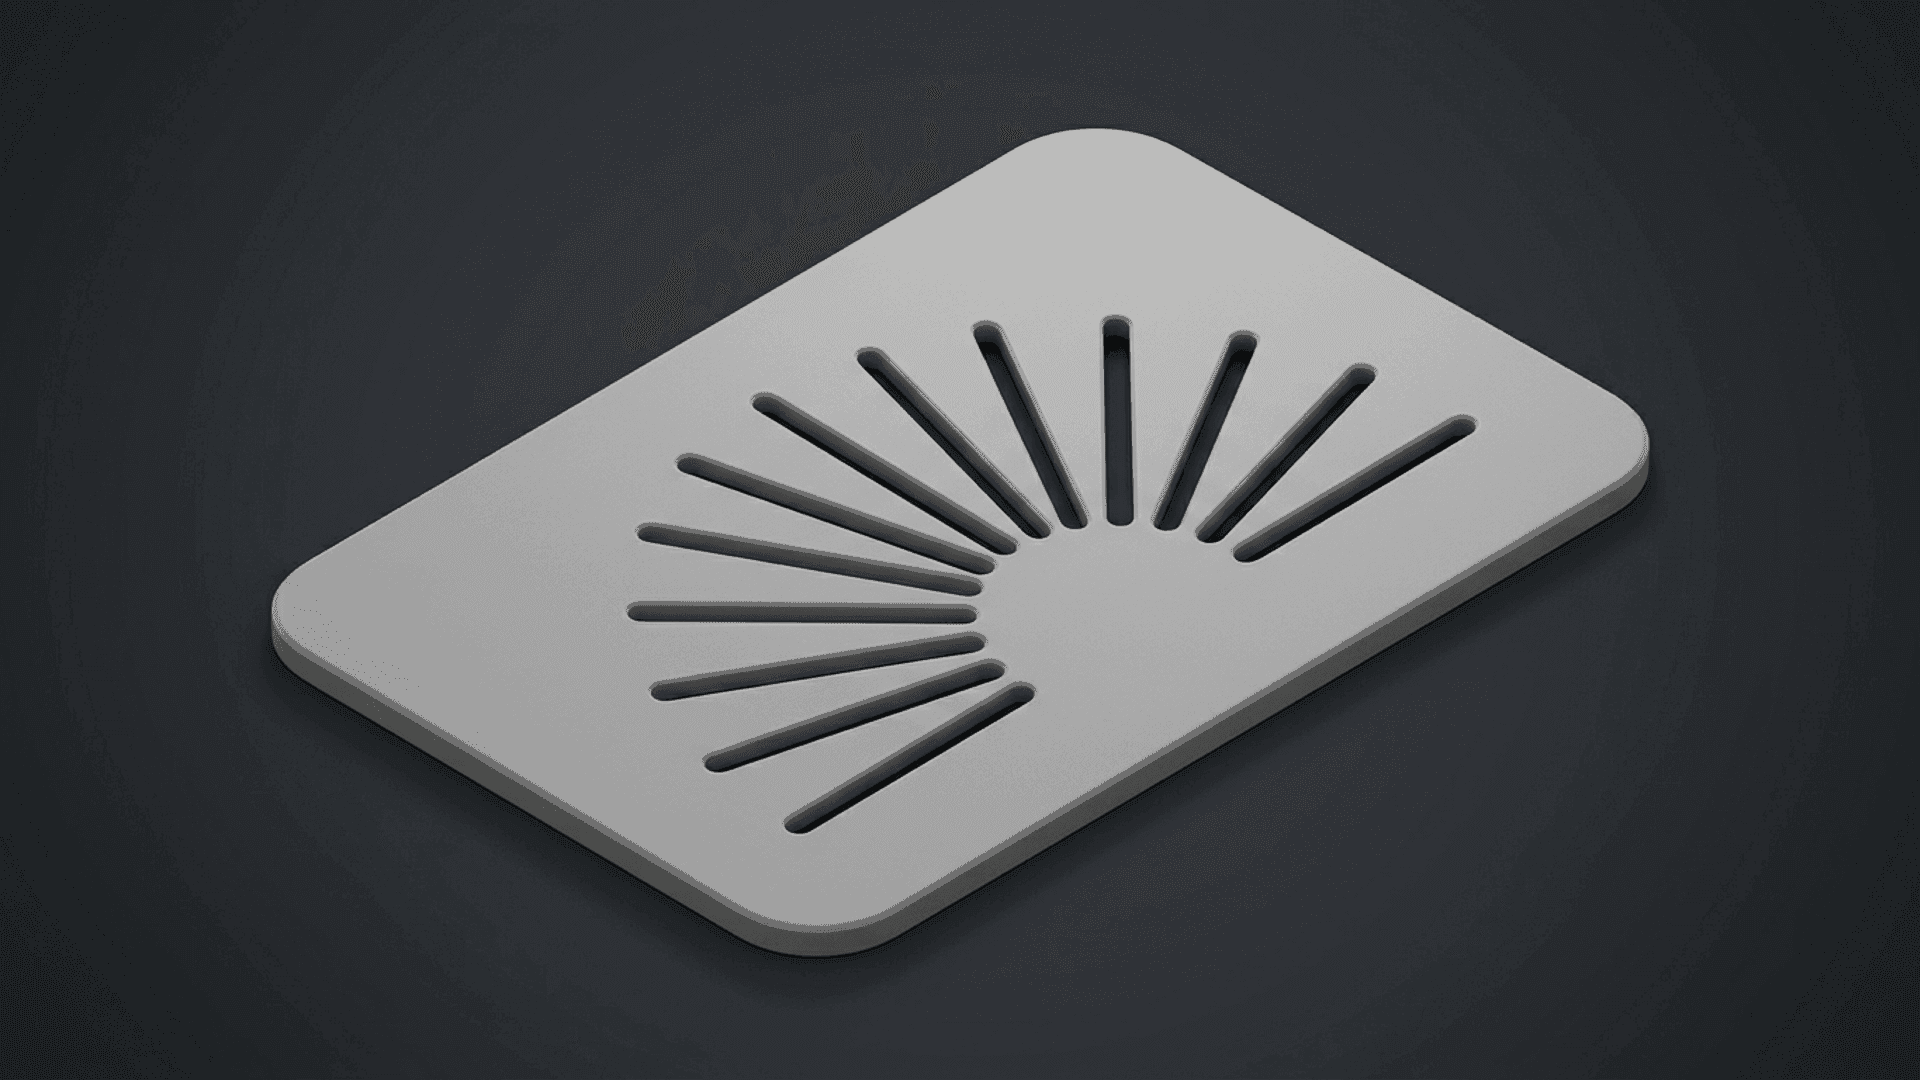
- Panels, plates, brackets, constant thickness
- Add a Solidify modifier to set the thickness
- Or Extrude the faces by hand for more control
- Boolean a second mesh to cut holes and slots
- Finials, spindles, bottles, anything round
- Keep just the half-section profile
- Add the Screw modifier to spin it 360°
- Blender's Screw is the lathe — set the axis
Three gotchas that break the import
Almost every “my DXF won't work in Blender” thread comes down to one of these. Knowing them up front saves the ten minutes.
Cleanest habit: from TechDraw AI, export one SVG of just the profile to import and Solidify, and keep the full dimensioned drawing (or a PDF) open beside Blender as your spec. The mesh gets clean lines; you keep the numbers in view.
Where this combo earns its keep
| Job | TechDraw AI | Blender |
|---|---|---|
| Capture an undocumented part | ||
| Dimension it to real size | ||
| Build the 3D mesh | ||
| Render & present | ||
| Free & 3D-print ready |
Other CAD workflows
TechDraw AI hands a clean, dimensioned DXF to whatever you model in. Here's the same photo-to-3D handoff written up for other CAD tools.
The full hub: every TechDraw AI photo-to-DXF pairing in one place.
TechDraw AI + Fusion 360Insert the DXF into a Fusion sketch, then extrude or revolve it into a parametric model.
TechDraw AI + SolidWorksOpen the DXF with the DXF/DWG Import Wizard, then build a parametric SolidWorks model.
TechDraw AI + OnshapeImport the DXF, Use the curves in a Part Studio and model it in the browser.
TechDraw AI + Shapr3DImport the DXF onto a sketch plane, then Push/Pull or revolve it on iPad or Mac.
TechDraw AI + FreeCADImport the DXF in the Draft workbench, convert it to a sketch, then Pad or Revolve it — free.
TechDraw AI + InventorImport the DXF into a sketch, extrude or revolve it, then drive a production drawing and BOM.
TechDraw AI + SketchUpImport the DXF in SketchUp Pro, explode it to edges, then Push/Pull or Follow Me into a model.
TechDraw AI + TinkercadExport as SVG, import it into Tinkercad in the browser, and extrude it into a printable solid.
TechDraw AI + RhinoImport the DXF as exact curves, Join them, then ExtrudeCrv or Revolve into NURBS surfaces.
Start at the part, end at the 3D model
Generate the dimensioned drawing in minutes, then import it into Blender. No tracing, no blank canvas, no licence to buy. Free to start, no account needed.
Frequently asked questions
Does TechDraw AI replace Blender?
No. They solve different halves of the job. TechDraw AI gets you from a physical part or an idea to a dimensioned 2D drawing and a clean vector in minutes. Blender is the free, open-source 3D suite where that vector becomes a mesh you Solidify, Screw, render and export for 3D printing.
How do I import a TechDraw AI drawing into Blender?
Export the drawing as SVG or DXF from TechDraw AI. For SVG, use File › Import › Scalable Vector Graphics — it's built in. For DXF, first switch on the bundled 'Import AutoCAD DXF' add-on in Preferences › Add-ons, then File › Import › AutoCAD DXF. Either way the drawing arrives as a Curve; convert it to a mesh and Solidify.
Why is my imported part tiny or huge?
Blender's default unit is metres, while drawings are usually in millimetres, so a part can land about 1000× off. Set the scale in the import options, or change the Scene unit scale, so the geometry matches the dimensions on your drawing.
Why won't the imported profile become a solid?
Solidify needs a closed curve and a proper face. Make sure the curve is closed before you convert it to a mesh, then recalculate normals (Shift+N) so they point outward. An open profile only gives you an edge loop with nothing to thicken.
Can I import a DXF without installing anything?
SVG import is built into Blender, so the simplest path is to export SVG from TechDraw AI and skip add-ons entirely. DXF import uses a bundled add-on that just needs switching on in Preferences — nothing to download.