
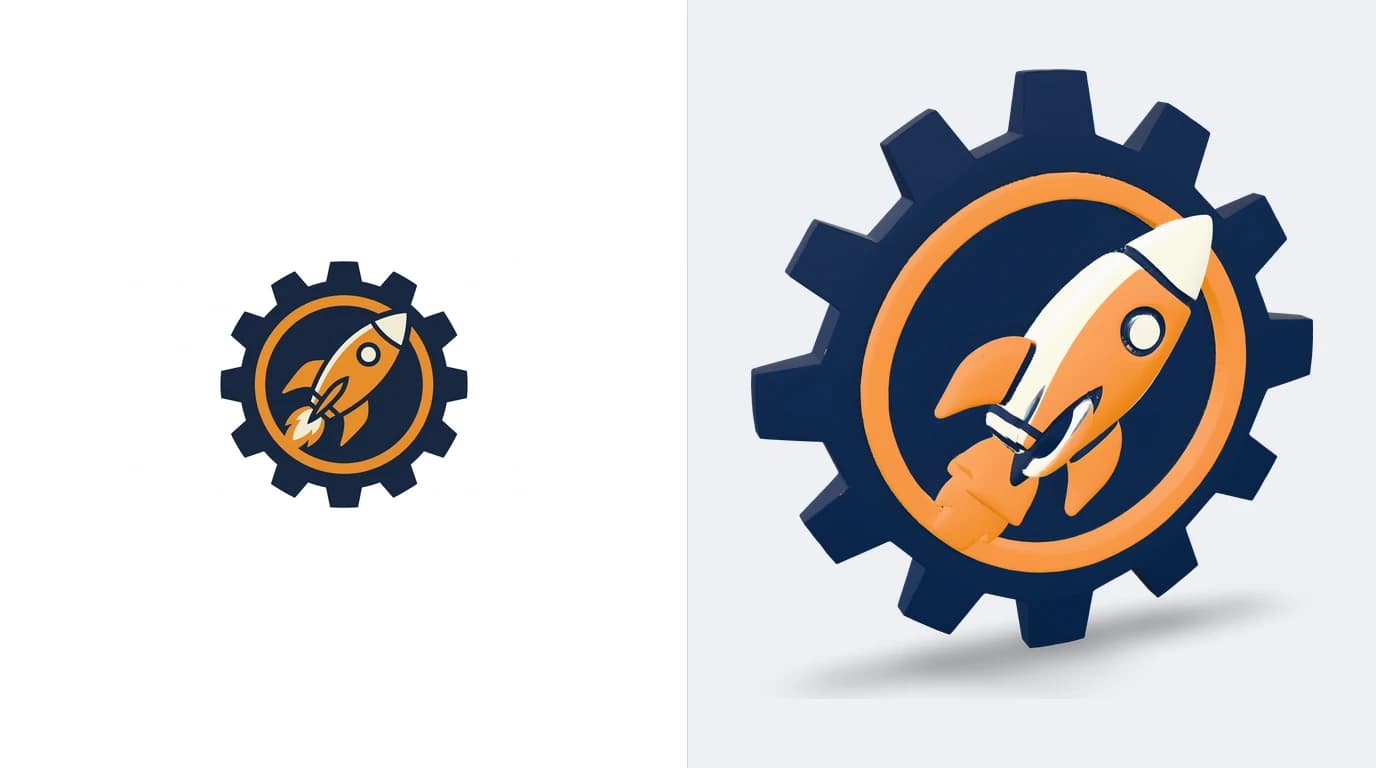
A PNG is a flat grid of pixels and an STL is a solid 3D shape, so “PNG to STL” always means inventing a third dimension that the file does not have. There are exactly three honest ways to invent it: give every shape the same height, turn brightness into thickness, or let AI imagine the whole object in the round. Each one suits a different kind of PNG, each one has good free tools, and picking the wrong one is why most first attempts come out as a sad flat blob. This guide sorts the three routes out so you pick right the first time.
Our articles are still written by humans!
Get human written articles in your Google feed.
Already know you want the first route? Our free PNG to STL converter traces and extrudes in your browser, at the size and thickness you set, and downloads a watertight STL. No upload.
Open the converterThe short answer
Yes, you can convert a PNG to a printable STL for free, and the whole job takes minutes once you pick the right route. A clean logo or icon gets traced and extruded into a solid badge. A photo becomes a lithophane, a thin panel that reveals the image when lit from behind. And artwork of an object, a character, a product, a creature, goes through an AI image-to-3D tool that rebuilds it as a complete mesh, the same way a photo becomes an STL. All three finish in an STL your slicer opens like any other model.
PNG to STL is three different jobs
The fastest way to waste an evening is to feed a photo into an extrusion tool or a logo into a lithophane maker. Match the PNG to the route first.
Which PNG to STL route fits your image
Notice what is missing from that table: a route that reads exact engineering dimensions out of a PNG. There isn't one. A picture carries no scale, so if what you actually need is a part with real measurements, that is a drawing job, not a mesh job, and it comes with its own tools.
Route 1: extrude the shape
This is the route almost everyone with a logo wants, and it is the simplest. The tool traces the boundaries in your PNG into vector outlines, you pull those outlines up a few millimetres, and the result is a solid you can print. Clean, high-contrast PNGs trace beautifully. Fuzzy edges, gradients and JPEG-style noise trace badly, which is why a crisp export from your design tool beats a screenshot every time.
Until recently this meant three tools and three file handovers: trace in one, extrude in another, export from a third. It no longer has to. Our free PNG to STL converter does the whole route in the browser, and the file is never uploaded anywhere. The longer path is still worth knowing, because it is what you fall back on when you want to keep editing the model rather than print it.
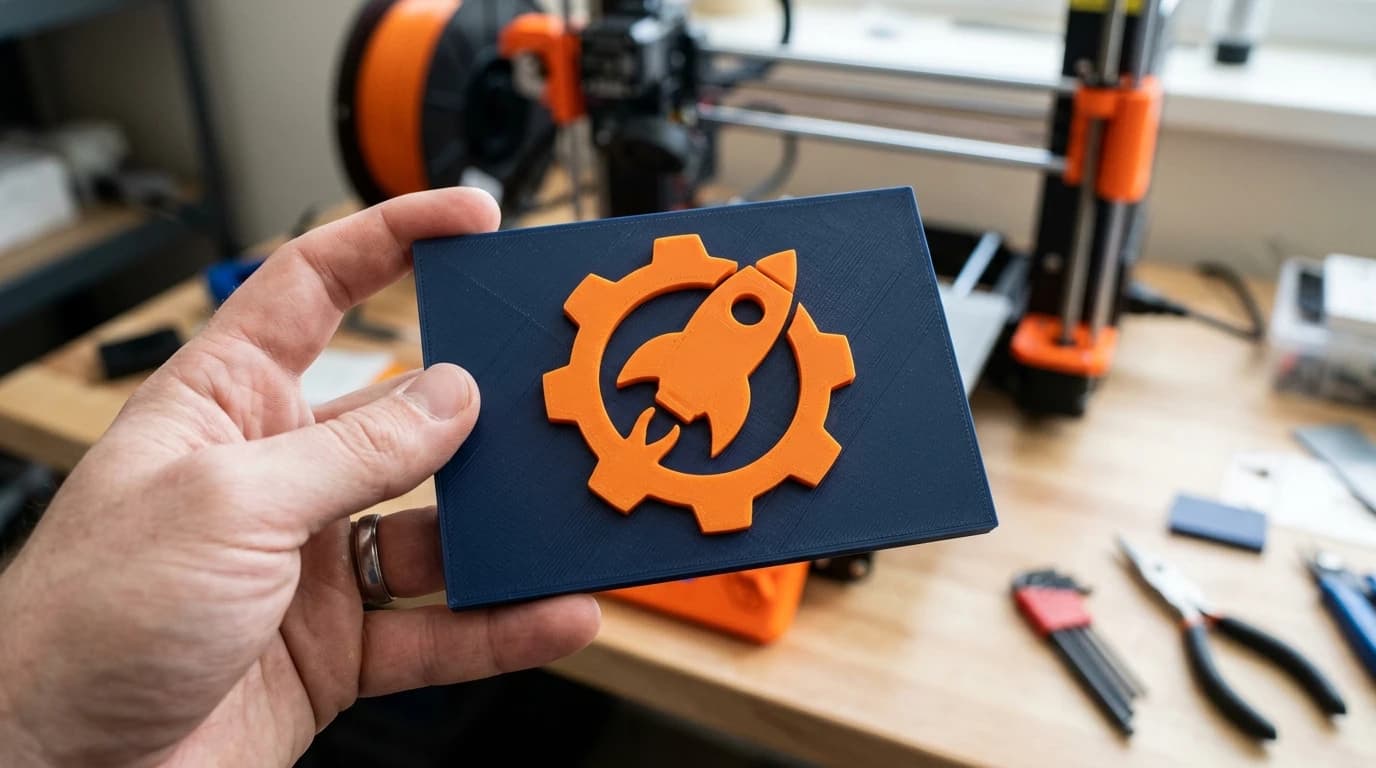
- The one-step route. Drop the PNG into the PNG to STL converter, set how long the finished print should be and how thick it should stand, and download the STL. It traces the outlines, works out which contours are holes so counters in letters stay open, and extrudes the result into a closed solid. Around 2 to 4 millimetres of relief reads well from arm's length.
- The long route, when you want to keep editing.Trace the PNG to a vector with Inkscape's Trace Bitmap or take the DXF from our PNG to DXF converter, then import that into Tinkercad, Fusion or FreeCAD and give it height there. Slower, but you end up with a model you can still change rather than a finished mesh.
- Slice it. A two-colour print, base in one filament and raised shapes in another, looks far more finished than a single-colour one and costs one filament swap.
Route 2: the lithophane
A photo has thousands of shades, and extrusion would flatten them into one blobby silhouette. A lithophane keeps them all by mapping brightness to thickness: dark pixels print thick, light pixels print thin, and when you put a light behind the panel the photo reappears in glowing greyscale. It is a nineteenth-century porcelain trick that turned out to be perfect for 3D printers, and free browser generators make one from your PNG in seconds.
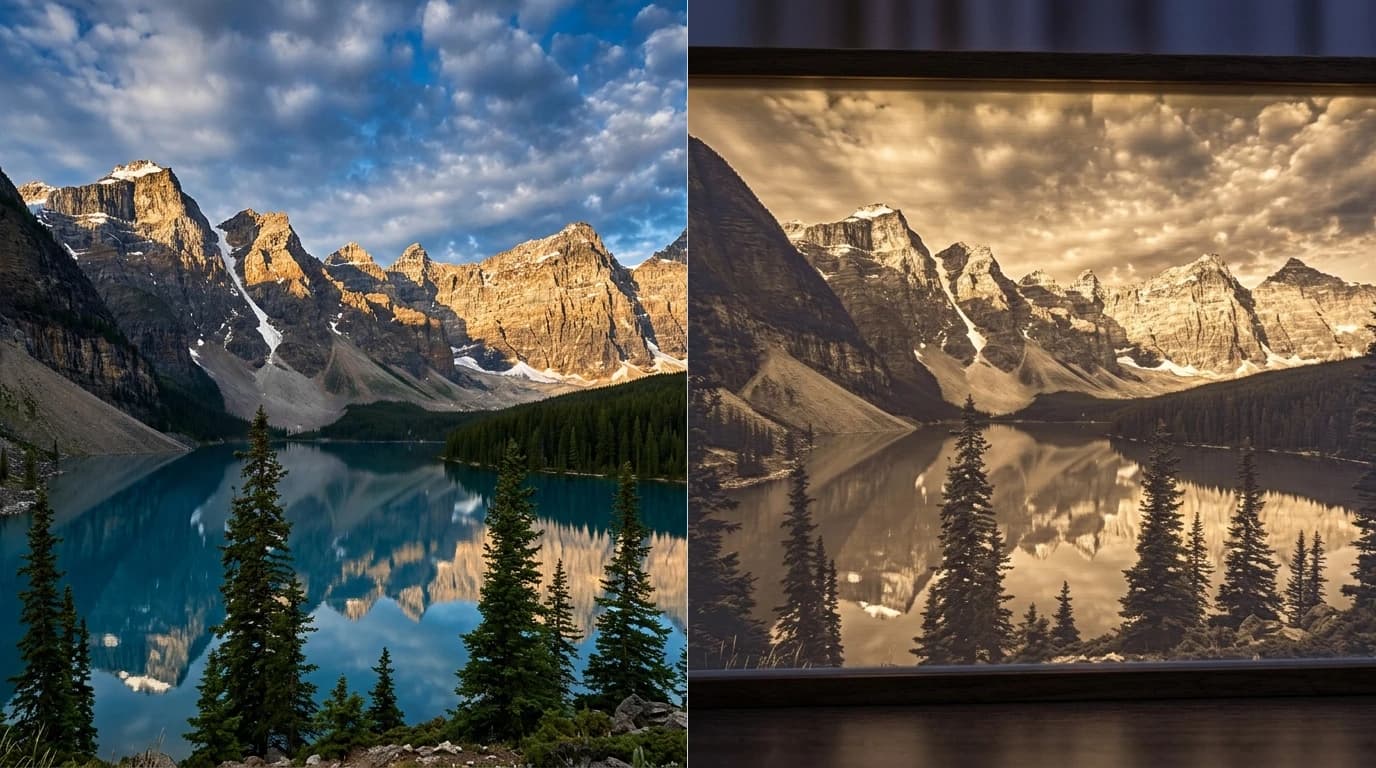
Two practical notes from prints that went wrong. Print lithophanes vertically, standing up, so the layer lines run across the image instead of through it. And use white filament at 100 percent infill, because any colour or hollow space muddies the glow. Beyond that the generators handle the geometry, and your only real decision is the frame.
Route 3: AI builds a full 3D model
The newest route, and the only one that produces an object rather than a panel. AI image-to-3D reconstruction looks at the artwork in your PNG, a mascot, a product render, a creature, a badge, and builds a complete textured mesh, including the sides the image never shows. The cover image of this post is exactly that: a flat two-dimensional emblem on the left, and the model the AI reconstructed from it on the right, ready to export as STL.
This is the same reconstruction engine we wrote about in turning an image into a 3D model, and it is what the Photo to 3D feature in TechDraw AI does: upload the image on the create page, get a mesh you can inspect in the browser and download as STL, OBJ, GLB or FBX. Because the mesh is generated as one closed surface, it is watertight far more often than hand-stitched geometry, which is precisely what a slicer wants.
Three checks before you print
- Size. A PNG has no scale, so the STL lands in your slicer at an arbitrary size. Scale it once against a dimension you care about, the width of a badge, the height of a figurine, before anything else.
- Wall thickness. Fine details that looked good on screen can come out thinner than a nozzle width. Anything under about 1 millimetre at final size either grows or disappears.
- Watertightness.Run your slicer's mesh check. AI meshes usually pass, traced-and-extruded ones occasionally self-intersect where outlines crossed, and Cura's auto-repair fixes most of it.
Want it cut, not printed?
A surprising number of people searching for PNG to STL actually want the shape cut out of steel, plywood or acrylic rather than printed in plastic. If that is you, you want a flat vector file, not a mesh: our free in-browser PNG to DXF converter traces the same outlines into a DXF that laser and plasma tables read directly, and the laser prep guide covers what to check before you hit cut. Same tracing, different machine, and no third dimension to invent at all. For printed parts that need real sizes, see AI technical drawings for 3D printing.
Frequently asked questions
How do I convert a PNG to STL?
Pick the route that matches your PNG. For a logo, icon or silhouette with clean shapes, the shape gets traced and extruded into a solid, which a browser converter now does in one step. For a photo you want a lithophane or relief generator, which converts brightness into thickness. For artwork of an object or character, an AI image-to-3D tool reconstructs a full mesh from the single image. All three routes end with an STL file that drops straight into your slicer.
Can I convert a PNG to STL for free?
Yes, every route has a free option. Free extrusion tools and Tinkercad handle logos and icons, lithophane generators are free and run in the browser, and the AI reconstruction tools that build a full 3D model from one image typically include a free tier with a monthly cap. You only start paying when you need higher resolution meshes, batch conversion or commercial licensing.
How do I turn a logo into a 3D print?
Trace the logo to vector paths, extrude those paths a few millimetres, and print the result. A clean PNG with hard edges traces well and the whole job takes minutes; a browser converter will do the tracing and the extrusion together and hand back the STL. Watch the counters, the enclosed gaps inside letters like o and e, which should come through as real holes rather than filled patches. Two-colour prints look best: print the base plate in one colour, pause at the layer where the raised logo starts, and swap filament. Multi-material printers do the same without the pause.
Is a PNG to STL conversion 2D or 3D?
A PNG is always 2D, it is a flat grid of pixels with no depth information, so every PNG to STL tool has to invent the third dimension somehow. Extrusion gives every shape the same uniform height, a lithophane converts pixel brightness into thickness, and AI reconstruction infers what the object would look like in the round. Which invention is right depends entirely on what the PNG shows and what you want to hold in your hand.
What is the best PNG to STL converter?
There is no single best, because the three routes solve different problems. For logos and icons the best converter is any solid vector-extrusion workflow. For photos it is a lithophane generator. For artwork of objects and characters it is an AI image-to-3D tool, since it is the only route that produces a model you can print from every side. Decide what you want the print to be first, then the tool choice makes itself.