
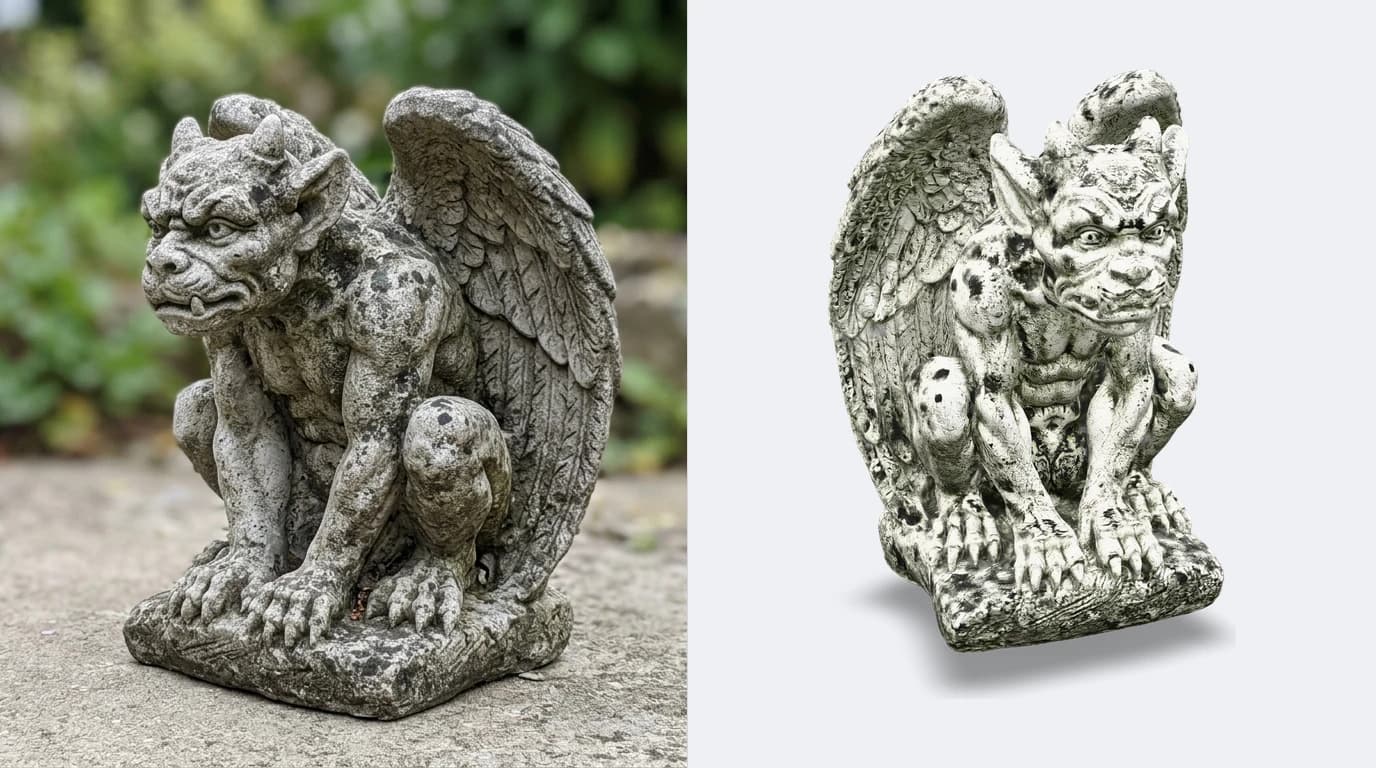
“Photo to STL” sounds like one task, but it splits into two the moment you look closely, and picking the wrong one wastes an evening. If you have a photo of a real object, you want AI to reconstruct it in the round, a full model you can print from any side. If you have a flat image, a portrait or a logo, you probably want a relief: brightness turned into height, a raised panel rather than the object itself. Both end in an STL your printer understands. They are completely different jobs, and this guide covers both, starting with the one most people mean.
Our articles are still written by humans!
Get human written articles in your Google feed.
The short answer
Yes, you can turn a photo into a printable STL, and for a photo of a real object AI does it in about a minute. Upload the picture, the tool reconstructs the full shape as a watertight mesh, and you download an STL that slices and prints. The reconstruction is a surface model, not a CAD solid, which is exactly right for printing, because a printer only ever builds the outer shape. Two things still need your hand: the real size, since a photo has no scale, and a quick wall-thickness check so nothing is too thin to print. Neither takes long, and both live in your slicer.
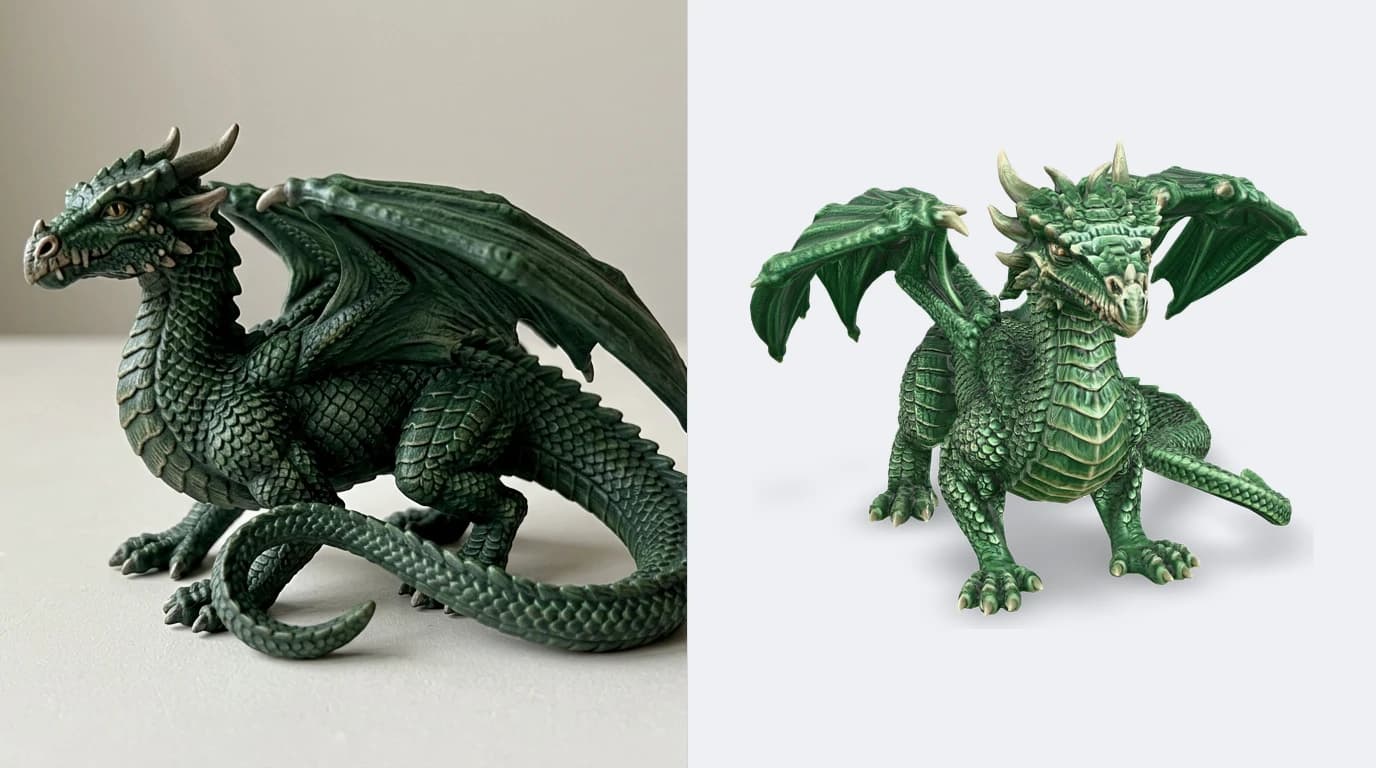
Photo to STL means two different things
This is the split that decides your whole afternoon, so it goes first. Both routes are valid and both end in an STL, but they produce very different objects, and the tools do not overlap.
Two jobs, both called photo to STL
Most people searching “photo to STL” mean the first: they are holding a figurine, a part or an ornament and want it printed in the round. That is the AI reconstruction route, and it is the same engine behind turning an image into a 3D model, just exported straight to STL for the printer. The relief route is a genuinely different technique for flat art, and we cover it lower down so the page serves both, but if you have an object in your hand, the next section is the one you want.
Photo to a printable STL in four steps
For a real object, the path from photo to a sliced print is short. Here is the whole thing.
- Upload a clear photo of the object. One well-lit shot that shows the front and a side, subject filling the frame, plain background. That is enough for a usable reconstruction.
- Let the AI rebuild the full mesh. It reconstructs the shape in three dimensions, inferring the back and underside your camera never captured, and closes it into a watertight surface.
- Export STL. Choose STL rather than GLB or OBJ, because a slicer only wants the shape. Colour and texture do not travel, and for a single-material print you do not need them.
- Slice, scale and print. Drop the STL into Cura, PrusaSlicer or your slicer of choice, set the real size, add supports if it needs them, and print.
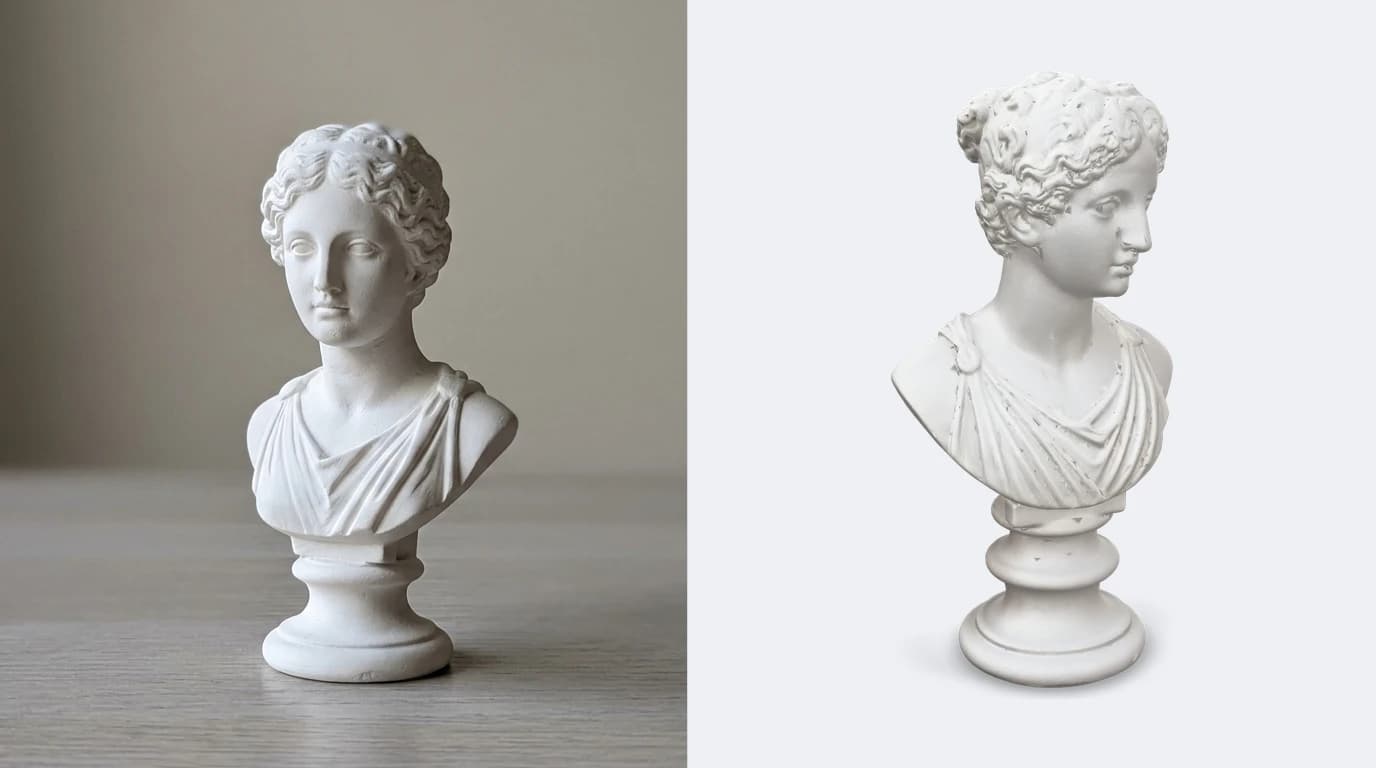
Watertight, scale and wall thickness
Three checks stand between a nice-looking STL and a good print. None are hard, but skipping them is where prints fail, so it is worth a minute on each.
- Watertight means no holes in the mesh. A slicer needs a closed surface to know what is inside and outside. This is the quiet advantage of AI reconstruction: it builds a closed shell, so single-photo STLs are watertight far more often than a hand-stitched scan.
- Scale is yours to set. A photo has no units, so the STL arrives at an arbitrary size. Measure one feature on the real object and scale the model in the slicer until that feature matches. Everything else follows.
- Wall thickness has to clear your nozzle. A shape that is fine at 200 mm can have walls too thin to print at 40 mm. Check the thinnest features against your line width, and scale up or thicken if they are borderline.
Prepping the STL in your slicer
Once you have the STL, the last mile is ordinary slicer work, the same as any model off the internet. A reconstructed mesh needs nothing special, just the usual print-prep habits.
- Run auto-repair. Most slicers, including Cura, quietly fix minor mesh issues on import. Let it, and you will rarely need a dedicated repair tool.
- Orient for strength and supports. Turn the model so the face that matters is clean and overhangs are minimised. This does more for print quality than any single setting.
- Add supports where the AI guessed. The reconstructed back and underside are the least certain areas, so a support-heavy orientation there hides the softest detail underneath.
- Hollow to save material if the object is large and solid, adding a drain hole for resin. A printed figurine rarely needs to be solid all through.
The relief route for flat images
If your input is a flat photo, a portrait, a pet, a logo, reconstruction is the wrong tool, because there is no object in the round to rebuild. What you want instead is a relief or lithophane: the image's brightness mapped to height, so the picture reads as a raised, or backlit, panel.
A relief maker turns light pixels into thin areas and dark pixels into thick ones, producing a flat plate that shows the image, beautifully so when a lithophane is lit from behind. It is a plaque of the picture, not the subject as a 3D object, and that is the whole point. If that is what you pictured, a dedicated relief or lithophane tool is the right home for the job, and the AI reconstruction route in the rest of this guide is not what you need.
The flat-image route itself splits once more, and this is where most of the disappointment happens. A lithophane is right when the image has tone, a portrait or a landscape, where the whole point is that the greys survive. When the image has no tone at all, a logo, a monogram, a stencil or a silhouette, mapping brightness to height gives you a plate with two heights on it, which is a laborious way to describe a shape. What that image wants is a plain extrusion: the outline traced and given one uniform thickness, so it stands proud of a flat back.
Our photo to STL converter takes that second path, in the browser, at a size and thickness you set. Being clear about what it will not do: it does not make lithophanes, because it thresholds the image to two tones and throws the brightness away rather than mapping it to height, and it does not rebuild an object in the round. It makes the silhouette solid. For flat artwork that is usually what people meant all along; for a portrait it is not, and a dedicated lithophane tool remains the right home for that.
Photo to STL tools compared
The right tool follows straight from which of the two jobs you have. Here is the honest split.
Photo to STL, by tool and by what it is really for
For a real object in your hand, an AI reconstruction is the fastest way to a watertight STL, and that is exactly what TechDraw AI does: its Photo to 3D feature rebuilds a real textured model from a single photo, viewable in the browser and downloadable as STL for printing, or OBJ, GLB and FBX if the model is heading somewhere else next. You can run it from the create page. And if it turns out you did not want a print at all but exact sizes to manufacture from, the same photo can become a dimensioned DXF or DWG drawing instead, which is a mesh's blind spot and a drawing's whole reason to exist. The wider decision between the two lives in image to 3D model, mesh versus CAD and the printing side is in AI technical drawings for 3D printing.
Frequently asked questions
Can you convert a photo to an STL file?
Yes. AI image-to-3D tools reconstruct a full three-dimensional mesh from a single photo and export it as STL, the standard 3D-printing format. You upload one picture, the tool rebuilds the shape including the sides the camera never saw, and you download an STL that drops into a slicer. The reconstruction is a surface mesh rather than an exact CAD model, which is fine for printing, where the printer only cares about the outer shape, not its engineering dimensions.
How do I turn a picture into a 3D print?
Two routes, depending on the picture. For a photo of a real object, run it through an AI image-to-3D tool to reconstruct a solid mesh, export STL, then slice and print it. For a flat image, logo or portrait, use a relief or lithophane tool that turns brightness into height, giving you a raised panel rather than a full object. The first gives you the object in the round, the second gives you a flat plaque of it. Pick by whether you want the thing or a picture of the thing.
Is the STL from a photo watertight and printable?
Usually yes, and that is the quiet advantage of AI reconstruction. Because the model is built as a closed surface rather than stitched from a point cloud, single-photo STLs are watertight, meaning no holes in the mesh, far more often than hand-traced ones, so they slice cleanly. Before printing, still check the physical size, since a photo carries no scale, and confirm the thinnest walls are thick enough to print at your chosen dimensions. A quick auto-repair in your slicer covers the rest.
Is there a free photo to STL converter?
Yes. Several AI tools have a free tier that turns a photo into a downloadable STL, typically at a lower polygon count or with a monthly cap, which is perfectly fine for a test print or a one-off model. For flat images, free relief and lithophane makers turn a picture into a printable panel at no cost. Expect a printable mesh from either, not an editable CAD file, because turning a single photo into a parametric solid is a different and much harder problem.
Why does my STL print at the wrong size?
Because a photo has no scale and neither does a raw STL. The file stores a shape in arbitrary units, so a slicer has to assume a size and the assumption is rarely your intended one. The fix is to set the real dimension once: measure a feature on the actual object, then scale the model in your slicer so that feature matches. If you need true engineering dimensions rather than a print that simply looks right, that is a drawing job, not a mesh job.